
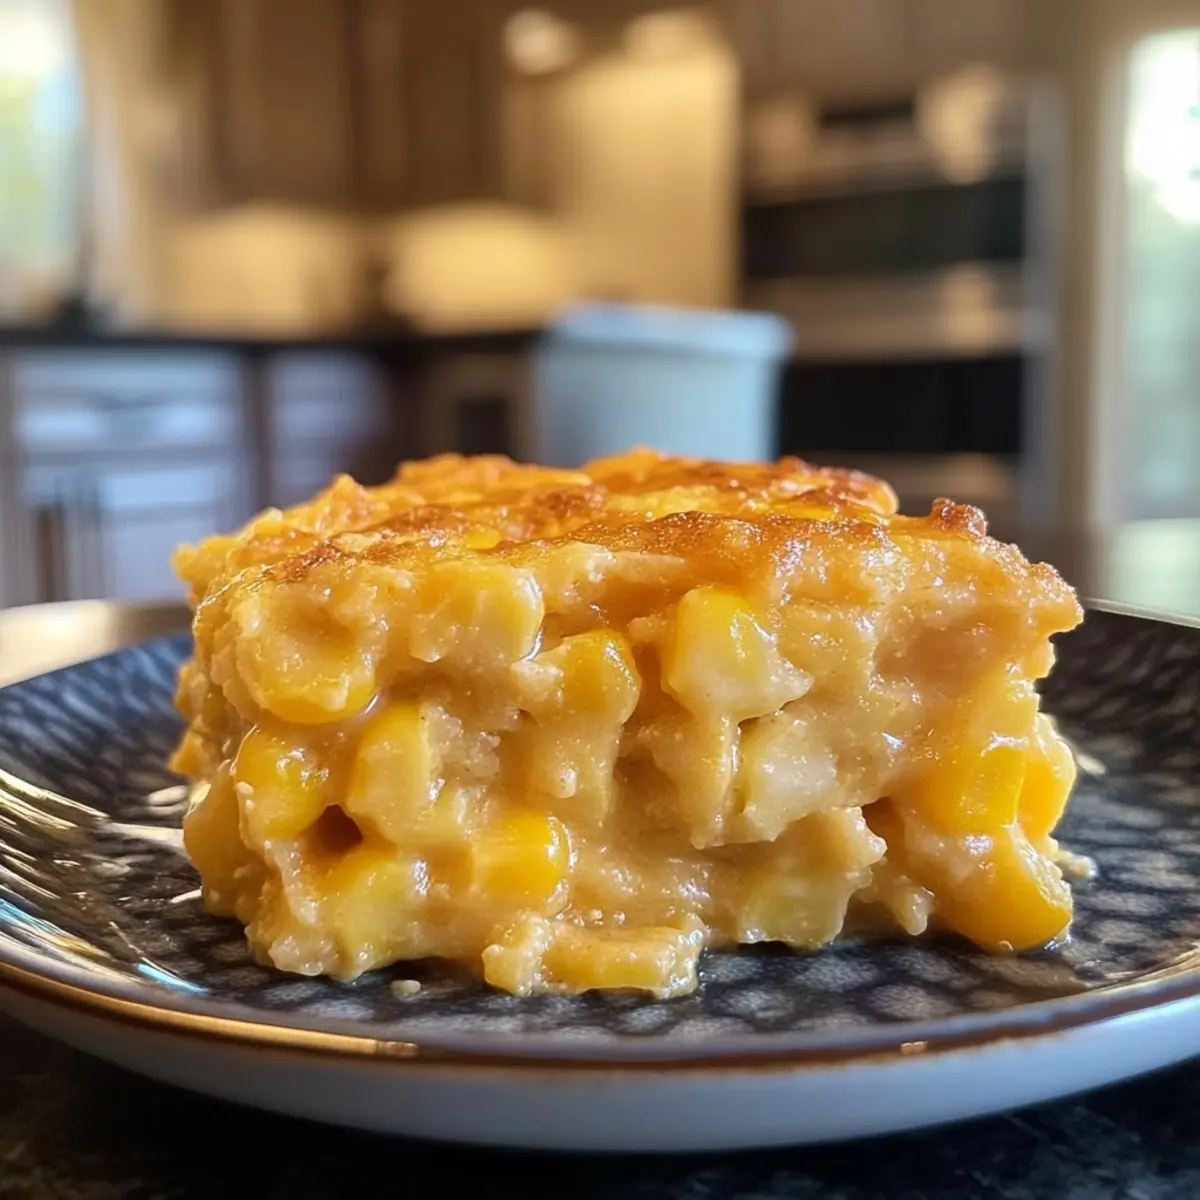
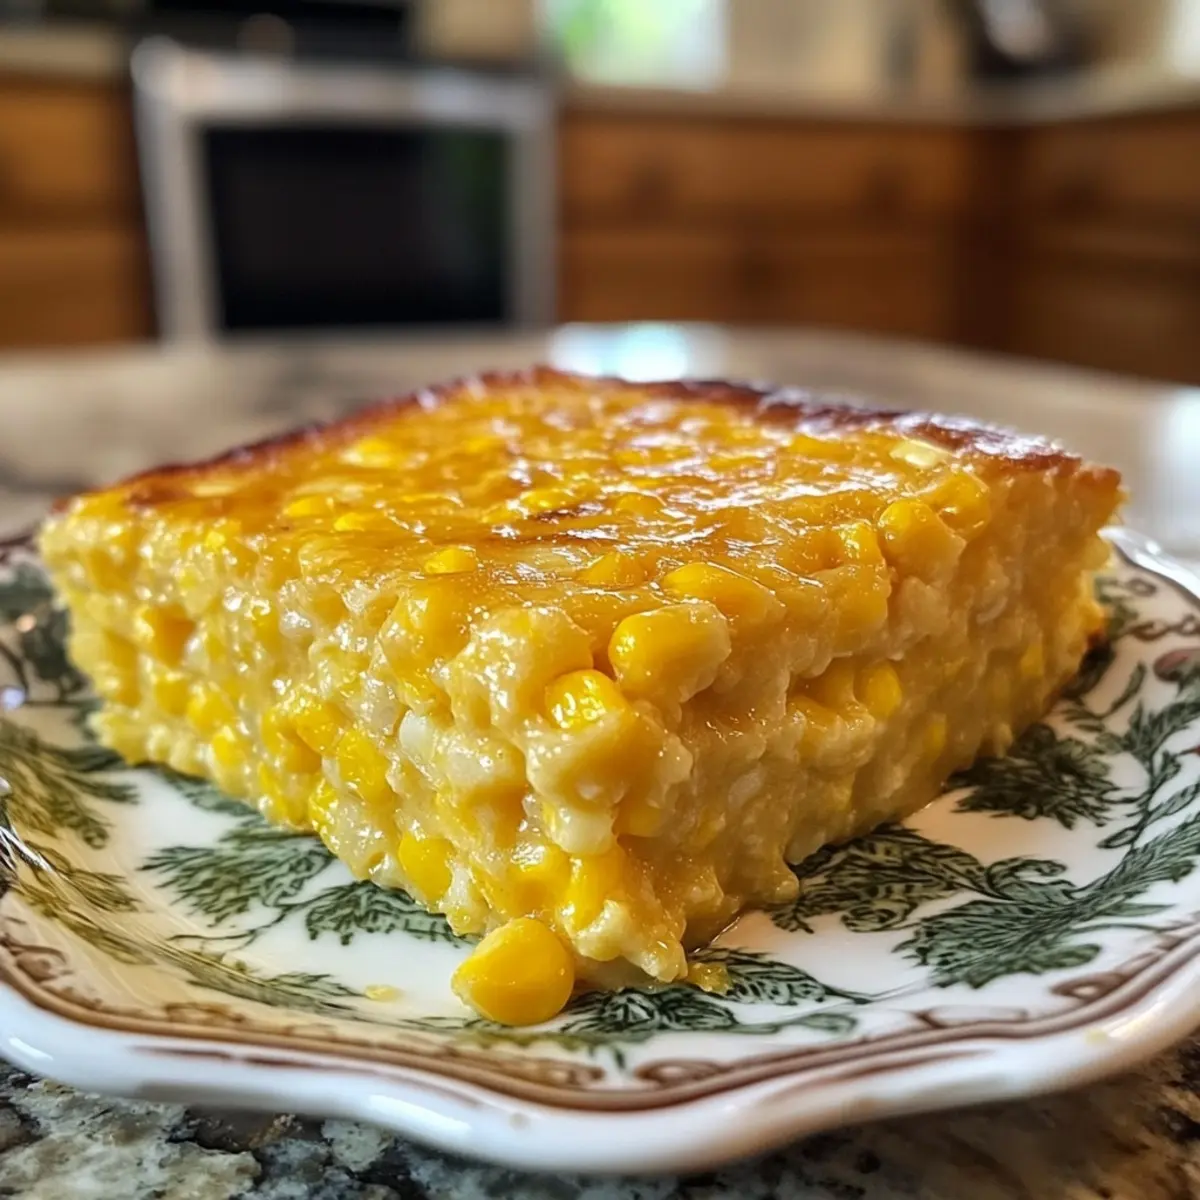
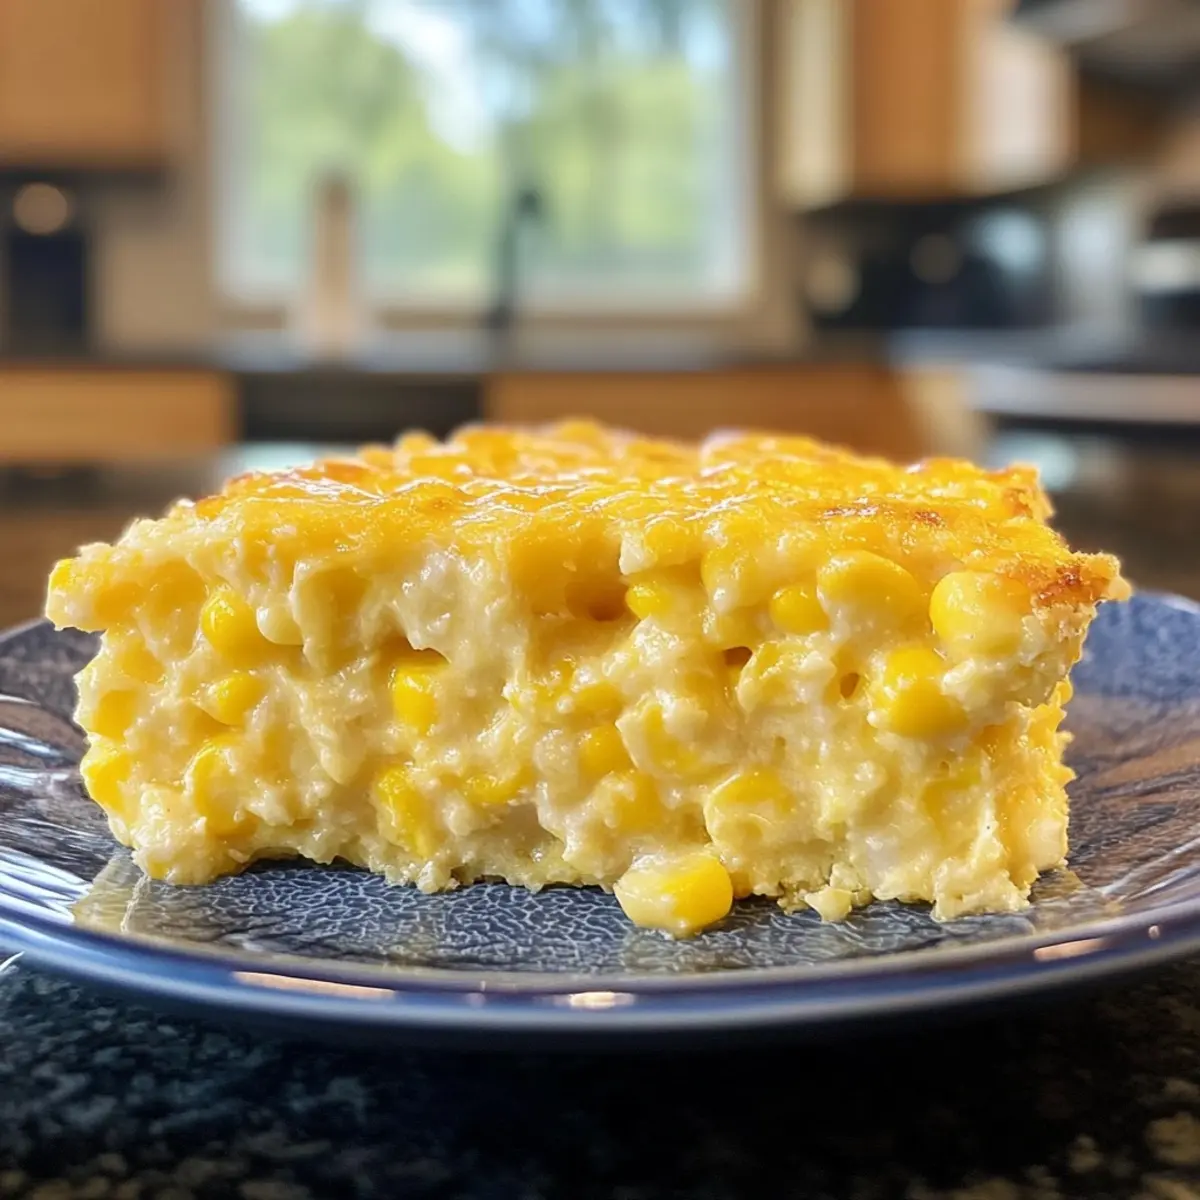
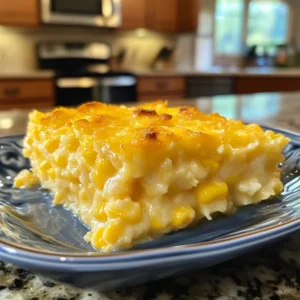
When I first whipped up this Creamy Jiffy Corn Casserole, I was simply trying to use up some pantry staples. Little did I know I’d stumble upon a dish that would become a cherished family favorite! The moment it comes out of the oven, the kitchen fills with mouthwatering aromas of sweet corn and melted butter, beckoning everyone to gather around the table.
With its wonderfully creamy texture and a subtly crunchy top, this casserole takes just a handful of ingredients to create a comforting masterpiece that’s perfect for busy weeknight dinners or casual family gatherings. It’s a delightful reminder that homemade doesn’t have to be complicated—this dish proves that simple can be oh-so-delicious. Plus, there’s plenty of room for personalization, whether you choose to go gluten-free or throw in some extra cheesy goodness. Let’s dive into this delectable recipe that’s sure to become a staple in your own kitchen!
Why is Jiffy Corn Casserole so beloved?
Simplicity at Its Best: This recipe makes use of pantry staples, ensuring deliciousness without the fuss.
Creamy Texture: The combination of sour cream and creamed corn creates a rich, melt-in-your-mouth experience.
Customizable: Add your favorite cheeses or substitute for gluten-free options to make it uniquely yours.
Crowd-Pleaser: Perfect for family gatherings, it’s a dish that brings everyone to the table.
Quick Prep: In just a few simple steps, you can have a comforting casserole baking in the oven—ideal for busy weeknights. You might also enjoy the convenience of making an Eggs Benedict Casserole for another easy meal option!
Jiffy Corn Casserole Ingredients
• All you need for this delicious dish!
For the Casserole
- 1 can corn kernels – Adds sweetness and texture; drain well for optimal results.
- ½ cup unsalted butter (melted) – Provides richness and moisture; Tillamook is recommended for enhanced flavor.
- 2 large eggs – Binds ingredients together; beat until slightly frothy for best results.
- 1 box corn muffin mix (8.5 oz, Jiffy recommended) – The base of the casserole, offering that classic cornbread flavor.
- 1 can creamed corn – Contributes to creaminess and sweetness, enriching the overall taste.
- 1 cup sour cream (full-fat) – Ensures a rich, creamy texture; substitute with Greek yogurt for a lighter option.
Enjoy making your Jiffy Corn Casserole with these simple ingredients!
How to Make Jiffy Corn Casserole
- Preheat the oven to 350°F (175°C). This step is essential for achieving that perfect golden brown top on your casserole.
- Gather all your ingredients and drain the corn kernels to remove excess liquid. This will prevent your casserole from becoming too watery.
- Whip the eggs lightly in a mixing bowl until they’re slightly frothy. This will create a fluffy texture in your casserole.
- Blend in the melted butter and sour cream with the frothy eggs until fully combined. The melted butter adds richness that enhances the flavor profile.
- Stir in the drained corn and creamed corn until they’re well combined. You should see a creamy, homely mixture taking form.
- Fold in the corn muffin mix gently, being careful not to leave any lumps. This is where the magic happens as it binds everything together.
- Grease an 8×8 inch casserole dish to prevent sticking and ensure easy serving. A light coating of cooking spray works wonders here.
- Spread the mixture evenly in the dish, smoothing out the top for even cooking. You want every bite to be just as delicious as the last.
- Bake for 45 minutes until the top is golden brown and slightly crunchy. The aroma will fill your kitchen, enticing everyone to gather around.
- Cool for a few minutes before serving. This waiting time helps the casserole firm up slightly for easier slicing.
Optional: Sprinkle some shredded cheese on top during the last 5 minutes for an extra gooey finish.
Exact quantities are listed in the recipe card below.
Expert Tips for Jiffy Corn Casserole
- Drain Corn Well: Ensure the corn kernels are properly drained to avoid excess moisture, which can make the casserole too watery.
- Mix Gently: When folding in the corn muffin mix, be careful not to overmix. Leaving a few lumps can result in a fluffier texture.
- Add Cheese: For a gooey finish, sprinkle cheese on top during the last 5 minutes of baking. Cheddar or Monterey Jack work beautifully!
- Let it Rest: Allow the casserole to rest for a few minutes after baking. This enhances flavors and makes it easier to slice and serve.
- Storage Tips: Store leftovers in an airtight container in the fridge for up to 4 days, or freeze for up to 2 months. Just reheat in the oven for best results.
Jiffy Corn Casserole Variations
Feel free to play with flavors and textures, letting your creativity shine in the kitchen!
- Gluten-Free: Use gluten-free corn muffin mix to make this dish suitable for those with dietary restrictions. Everyone deserves a bite of comfort!
- Cheesy Delight: Stir in 1 cup of your favorite shredded cheese before baking for an extra gooey, melty experience that brings pure bliss to every scoop.
- Creamy Twist: Substitute sour cream with plain Greek yogurt for a lighter option, adding a subtle tang that enhances the overall flavor profile.
- Spicy Kick: Mix in diced jalapeños or a sprinkle of chili powder for a bit of heat that awakens the taste buds, transforming your casserole into a standout dish.
- Savory Herb Infusion: Add fresh or dried herbs like thyme or rosemary to elevate the flavor profile, introducing an aromatic essence that mingles beautifully with the sweet corn.
- Vegetable Boost: Include sautéed onions, bell peppers, or zucchini for added nutrition and a delightful crunch, ensuring each bite is bursting with flavor and health.
- Sweet Corn Medley: Combine regular sweet corn with fire-roasted corn for a depth of flavor that brings a smoky sweetness to the casserole, creating a delicious twist on the classic.
- Nutty Crunch: Top your casserole with crushed nuts, like pecans or almonds, before baking for a deliciously crunchy topping that contrasts beautifully with the soft interior.
How to Store and Freeze Jiffy Corn Casserole
- Fridge: Store leftovers in an airtight container for up to 4 days to maintain freshness and flavor. Make sure to cool the casserole completely before refrigerating.
- Freezer: For longer storage, freeze the Jiffy Corn Casserole in a freezer-safe container for up to 2 months. Double wrap with plastic wrap for optimal protection.
- Thawing: To enjoy your frozen casserole, thaw it overnight in the refrigerator before reheating. This gradual thaw helps retain the delicious texture.
- Reheating: Reheat in a preheated oven at 350°F until warmed through, approximately 20-25 minutes. This ensures the casserole stays creamy and delightful!
What to Serve with Jiffy Corn Casserole?
When planning your meal, think of delightful pairings that will enhance the warmth and comfort of this beloved casserole.
- Roasted Chicken: Juicy and flavorful, the savory notes of roasted chicken balance perfectly with the sweetness of the casserole.
- BBQ Pulled Pork: The rich, smoky flavor of BBQ pulled pork complements the creamy texture, creating a satisfying, hearty meal.
- Steamed Broccoli: A crunchy and fresh side, steamed broccoli provides a bright contrast to the richness of the casserole, adding a pop of color.
- Garden Salad: Crisp greens with tangy dressing offer a refreshing lift, drawing attention away from the indulgence while still keeping things light.
- Cornbread Muffins: For a double dose of corn goodness, serve alongside fluffy cornbread muffins. It’s a comforting duo that fans of homestyle cooking will adore.
- Apple Pie: For dessert, this classic sweet treat naturally follows the casserole’s comforting vibes, offering a delightful warm finish to your meal.
Enjoy experimenting with your favorite pairings, and let each dish work harmoniously in the spotlight of your dining table.
Jiffy Corn Casserole Recipe FAQs
What type of corn is best for Jiffy Corn Casserole?
I recommend using sweet corn kernels, either canned or frozen. If using canned corn, be sure to drain it well to prevent excess moisture in your casserole. Frozen corn is also a fantastic option; just thaw it beforehand.
How should I store leftover Jiffy Corn Casserole?
For optimal freshness, store any leftovers in an airtight container in the refrigerator for up to 4 days. I usually let mine cool completely before sealing it up to keep the flavors intact.
Can I freeze Jiffy Corn Casserole?
Absolutely! You can freeze this casserole for up to 2 months. Just make sure to use a freezer-safe container and double wrap it with plastic wrap to prevent freezer burn. Thaw overnight in the fridge before reheating for the best texture.
What should I do if my casserole is too dry?
If the casserole turns out too dry, it might be due to overbaking or not enough moisture in the recipe. You can adjust by adding a touch more sour cream or creamed corn next time or even drizzling a little melted butter on top before serving to enhance the creaminess.
Is Jiffy Corn Casserole suitable for gluten-free diets?
Yes! You can easily make this dish gluten-free by using a gluten-free corn muffin mix. This way, everyone can enjoy the comfort and flavor of Jiffy Corn Casserole without worry!
Can I add ingredients to customize my casserole?
Very much so! Feel free to add shredded cheese, cooked bacon, or even diced green chilies for extra flavor. The more, the merrier—as long as everything is combined well, you should be good to go!
Irresistibly Easy Jiffy Corn Casserole for Cozy Gatherings
Equipment
- Oven
- Mixing bowl
- Casserole Dish
- Whisk
Ingredients
For the Casserole
- 1 can corn kernels Drain well for optimal results.
- 1/2 cup unsalted butter Melted, Tillamook recommended for flavor.
- 2 large eggs Beat until slightly frothy.
- 1 box corn muffin mix 8.5 oz, Jiffy recommended.
- 1 can creamed corn
- 1 cup sour cream Full-fat, substitute with Greek yogurt for lighter option.
Instructions
Cooking Instructions
- Preheat the oven to 350°F (175°C).
- Gather all your ingredients and drain the corn kernels.
- Whip the eggs lightly in a mixing bowl until they’re slightly frothy.
- Blend in the melted butter and sour cream with the eggs until fully combined.
- Stir in the drained corn and creamed corn until well combined.
- Fold in the corn muffin mix gently, being careful not to leave any lumps.
- Grease an 8x8 inch casserole dish.
- Spread the mixture evenly in the dish.
- Bake for 45 minutes until the top is golden brown and slightly crunchy.
- Cool for a few minutes before serving.
Notes


Leave a Comment