
There’s something undeniably comforting about the smell of freshly baked bread wafting through the kitchen. Imagine the warm, golden aroma of garlic butter filling your home—it’s enough to make anyone’s mouth water! Today, I’m excited to share my Quick & Easy Garlic Sheet Pan Breadsticks recipe, a delightfully simple creation that comes together with just a handful of ingredients.
Perfect for a cozy family dinner or as a crowd-pleasing appetizer at your next gathering, these breadsticks are not just soft and chewy; they’re also freezer-friendly, allowing you to enjoy this delicious treat anytime. When that mid-week craving for something homemade strikes, or you want to elevate your meal without the hassle of complicated baking, these little gems will be your go-to solution. Let’s dive into how to create this buttery, garlicky goodness that pairs beautifully with soups, salads, or simply enjoyed on their own!
Why is this breadsticks recipe a must-try?
Irresistible Aroma: The moment these breadsticks come out of the oven, your kitchen will be filled with the heavenly scent of garlic and butter, making them impossible to resist.
Quick and Easy: With only 10 ingredients and minimal prep time, you’ll have warm, homemade breadsticks in just over an hour!
Versatile Pairing: Perfect as an appetizer, side dish, or snack, these breadsticks elevate any meal. Serve them warm with marinara sauce or alongside your favorite soup for an unforgettable dining experience.
Freezer-Friendly Delight: Make a batch ahead of time, freeze, and enjoy them whenever the craving strikes—no more fast food!
Crowd-Pleaser: Whether it’s a family gathering or a dinner party, these breadsticks are sure to impress your guests with their delicious flavor and fluffy texture. You might even want to serve them alongside a fresh and vibrant Carrot Salad for a delightful contrast!
Breadsticks Recipe Ingredients
For the Dough
• Warm Water (1½ cups) – Activates yeast; ensure temperature is 105°-115°F for best results.
• Granulated Sugar (2 tbsp) – Feeds the yeast, helping the dough to rise.
• Salt (1 tsp) – Enhances flavor and strengthens the dough.
• Yeast (1 tbsp) – Provides leavening for a fluffy texture; use active dry yeast.
• All-Purpose Flour (3¾ cups) – Forms the structure of the breadsticks; can substitute with bread flour for a chewier texture.
• Melted Butter (⅓ cup) – Adds richness and flavor; divide for both dough and pan greasing.
For the Topping
• Parmesan Cheese (½ cup, finely grated) – Adds a savory, cheesy flavor; substitute with Asiago or omit for a dairy-free option.
• Garlic Salt (1 tsp) – Infuses the breadsticks with a garlic flavor; fresh garlic can be used as an alternative.
• Italian Seasoning (1½ tsp) – Enhances the overall flavor profile of the breadsticks recipe.
How to Make Breadsticks Recipe
- Activate Yeast: In a mixing bowl, combine the warm water, yeast, sugar, and salt. Let it sit for about 5-10 minutes until it becomes bubbly and frothy—this step wakes up the yeast!
- Prepare Dough: Gradually mix in the all-purpose flour using a stand mixer. Knead until you form a loose, cohesive ball of dough. Cover the bowl with a cloth and allow to proof for 30-45 minutes until it’s doubled in size.
- Preheat Oven: Preheat your oven to 350°F. Meanwhile, prepare a sheet pan by lining it with parchment paper for easy cleanup.
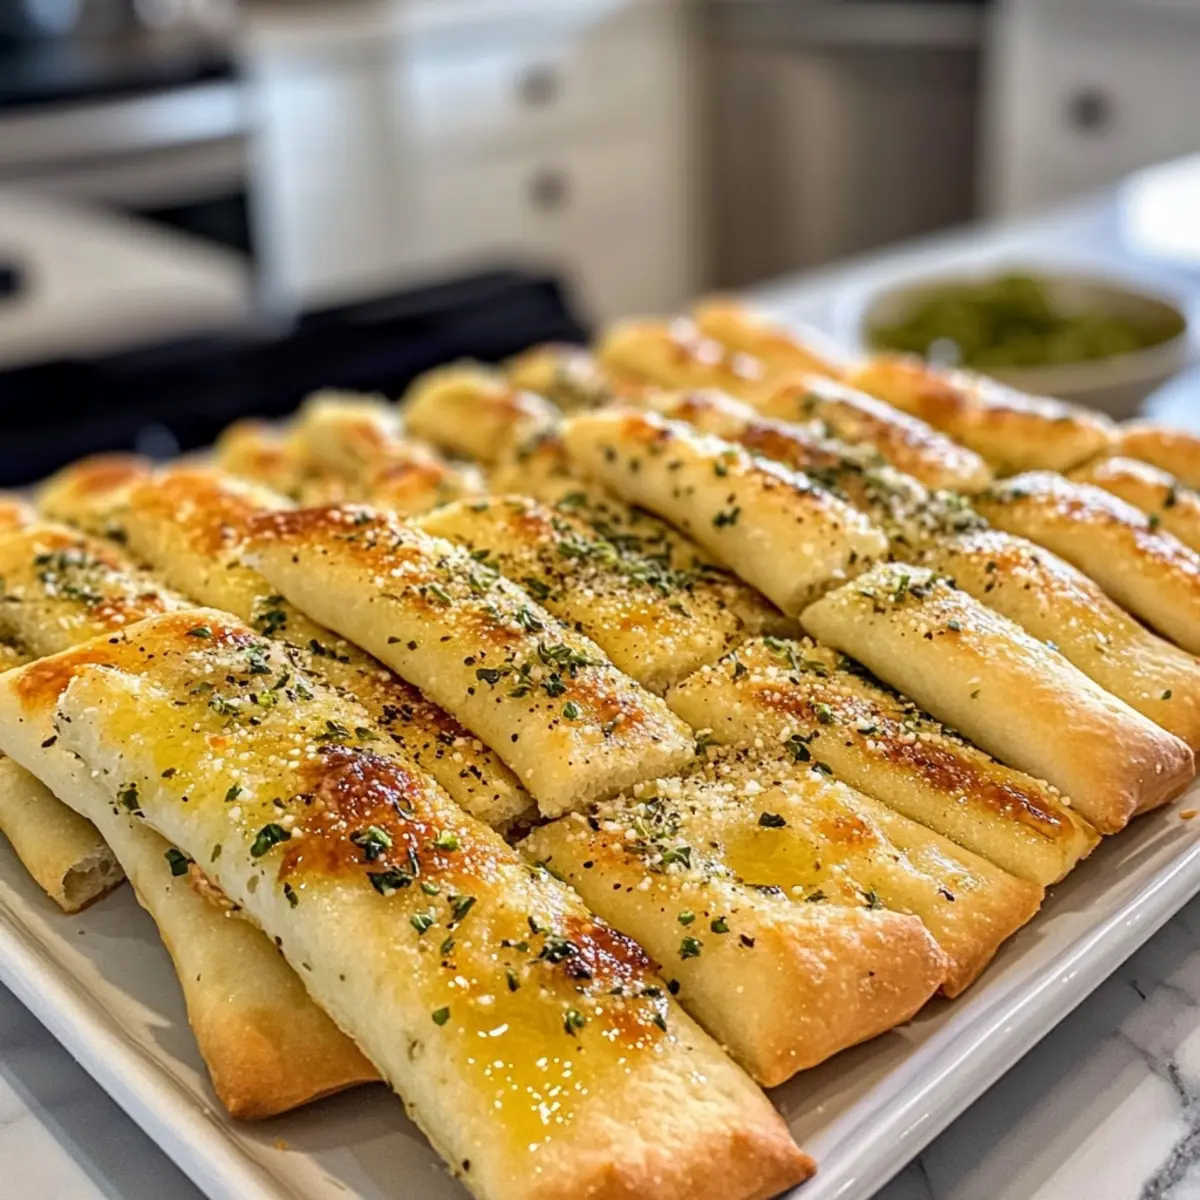
- Shape Breadsticks: Place the risen dough in the center of the prepared pan and gently press it outward to cover the bottom evenly. Drizzle the remaining melted butter over the top, then sprinkle with Parmesan cheese, garlic salt, and Italian seasoning.
- Final Proof: Allow the dough to sit covered for an additional 15-20 minutes until it rises about an inch. This step ensures the breadsticks are nice and fluffy when baked!
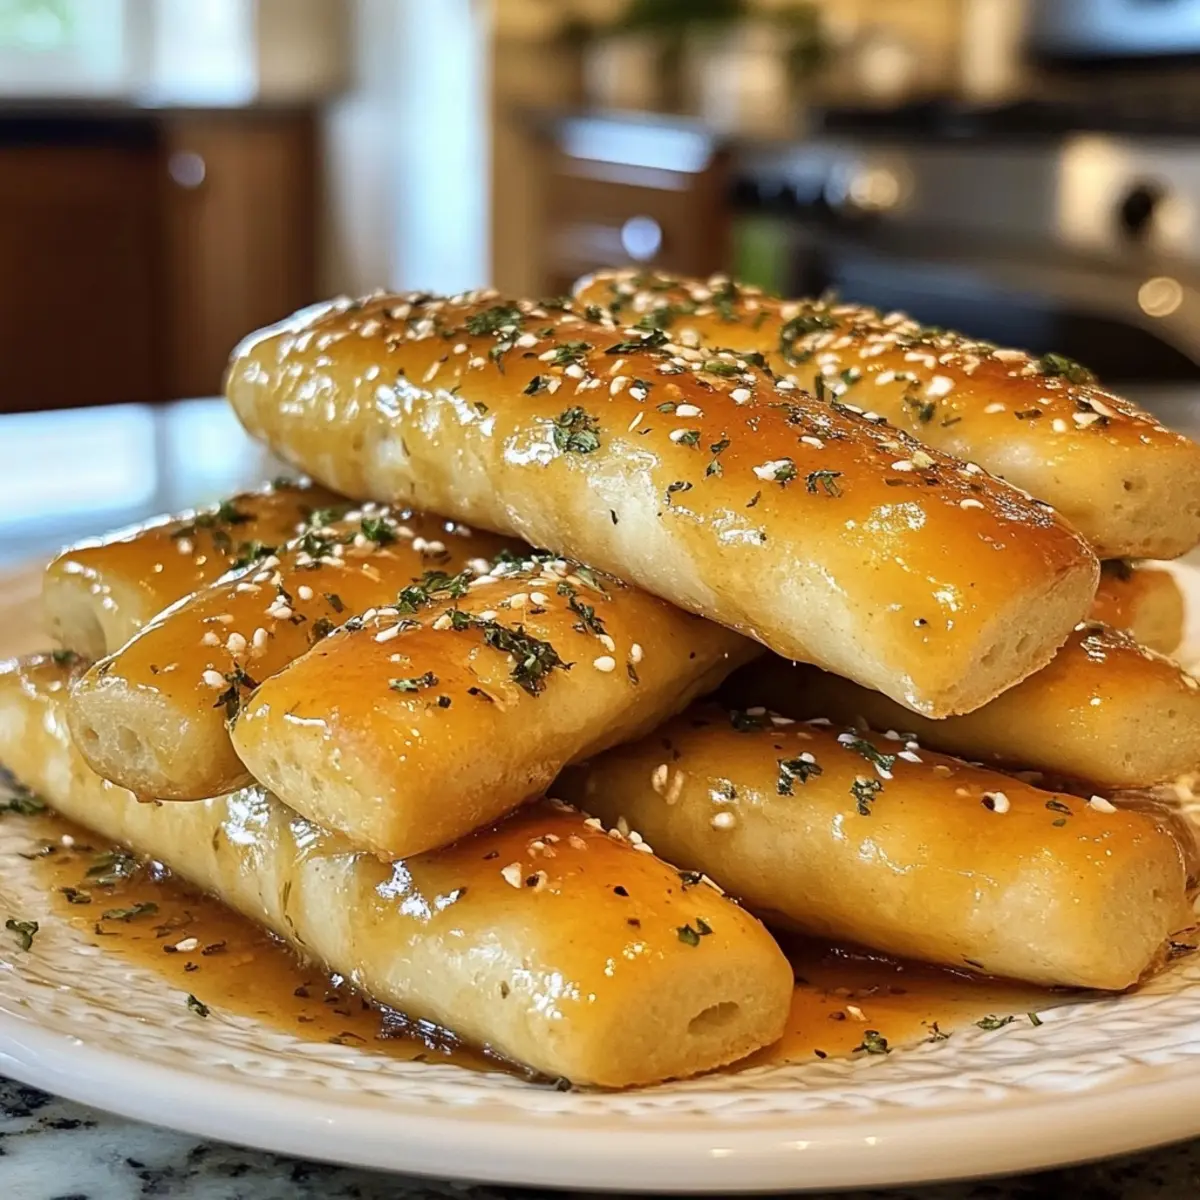
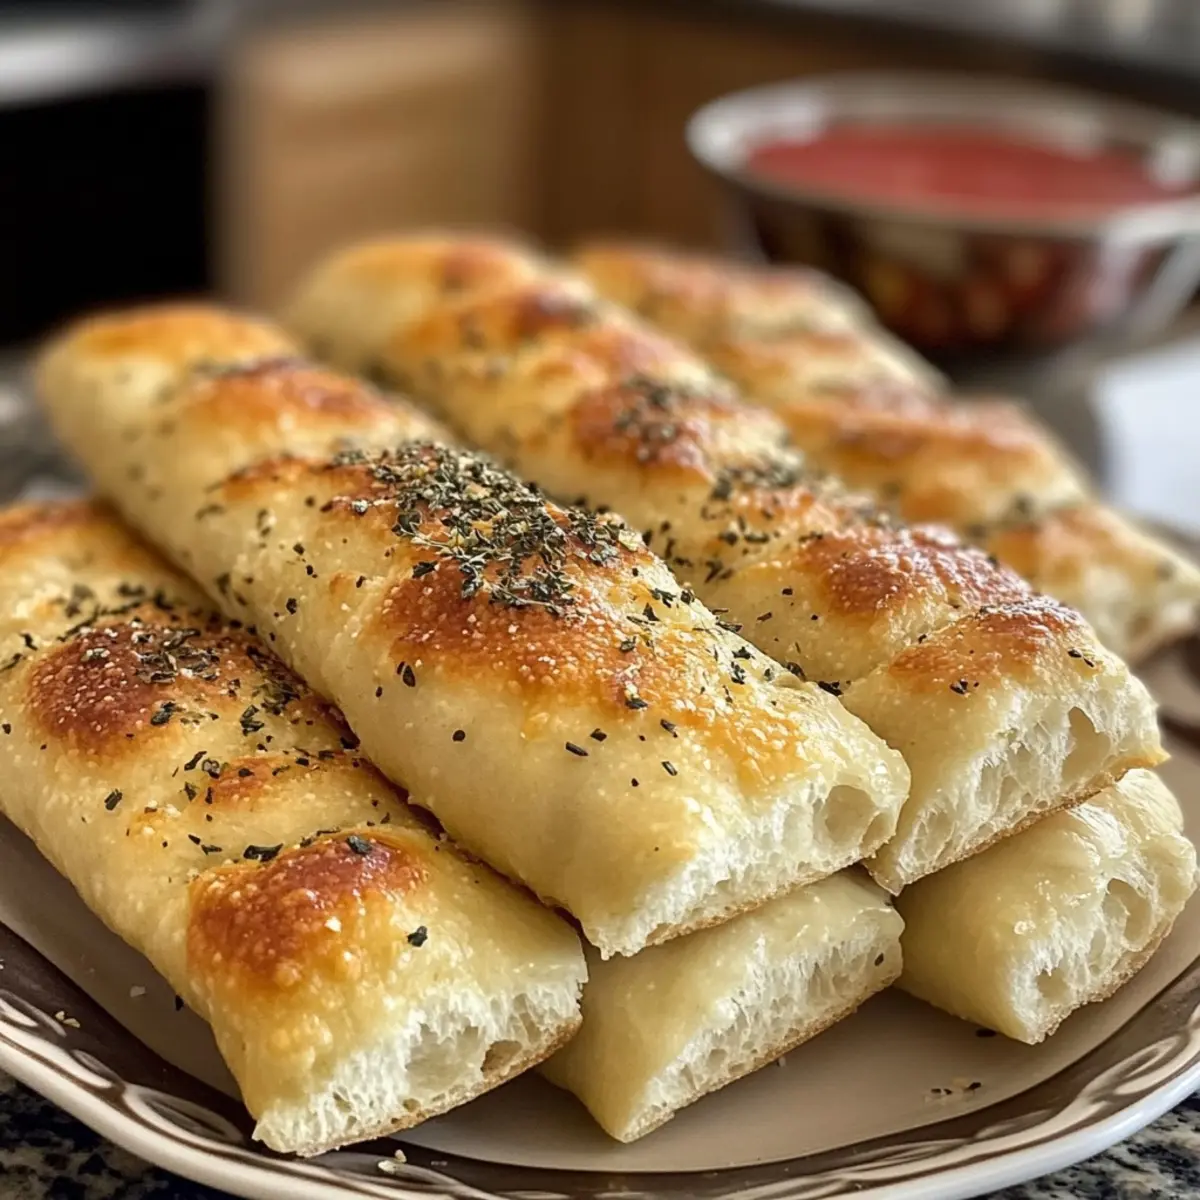
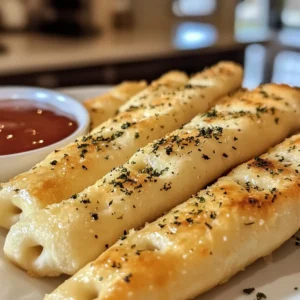
- Cut & Bake: Using a pizza cutter, slice the dough into your desired sizes. Bake for 18-20 minutes until they turn lightly golden and fragrant. Cool briefly before serving to enjoy them warm and fresh!
Optional: Serve with marinara sauce for dipping!
Exact quantities are listed in the recipe card below.
Expert Tips for the Breadsticks Recipe
- Mind the Temperature: Use warm water between 105°-115°F to activate the yeast effectively without killing it.
- Don’t Skip Proofing: Allow the dough to double in size during proofing; this step is crucial for achieving a great texture in your breadsticks.
- Cheese Choices: While Parmesan enhances flavor, consider using Asiago or cheddar for a different twist, or omit cheese for a dairy-free option.
- Knead Well: Knead the dough until it is smooth to ensure even rising—this results in soft and fluffy breadsticks!
- Add Extra Flavor: For a bolder garlic taste, incorporate minced garlic into the dough alongside the other ingredients.
What to Serve with Quick & Easy Garlic Sheet Pan Breadsticks?
Warm, buttery aromas fill your kitchen as these delightful breadsticks emerge from the oven, making them the perfect accompaniment to a variety of meals.
- Marinara Sauce: A classic pairing, the tangy tomato sauce complements the garlicky flavor, making each bite a savory delight.
- Fresh Garden Salad: Crisp greens and vibrant veggies provide a refreshing contrast, balancing the richness of the breadsticks beautifully.
- Creamy Tomato Soup: The comforting, velvety texture of the soup harmonizes well with the breadsticks, perfect for dipping on cozy evenings.
- Savory Garlic Butter Shrimp: Elevate your meal with succulent shrimp; the garlicky profile of both dishes enhances your dining experience.
- Roasted Vegetables: Caramelized veggies add a hint of sweetness and texture that pairs wonderfully with the soft and chewy breadsticks.
- Cheesy Broccoli Casserole: This creamy, cheesy dish balances heartiness with delightful flavors, making it a perfect sidekick to your breadsticks.
- Herbed Olive Oil Dip: Infuse your meal with Mediterranean flair by serving warm breadsticks alongside a fragrant herb-infused olive oil for dipping.
- Crispy Fried Chicken: The crispy texture and savory flavor of fried chicken complement the soft and buttery breadsticks, creating a satisfying meal.
- Dessert Option: For a sweet finish, serve with chocolate mousse—it plays off the richness perfectly for a delightful ending.
How to Store and Freeze Breadsticks
Room Temperature: Store leftover breadsticks in an airtight container at room temperature for up to 3 days to maintain freshness.
Fridge: You can also refrigerate breadsticks in an airtight container for up to a week; however, they may lose some softness.
Freezer: For long-term storage, freeze breadsticks in a freezer-safe bag or container for up to 3 months. Ensure they are tightly wrapped to prevent freezer burn.
Reheating: To reheat, place frozen breadsticks directly in a preheated oven at 350°F for about 10-15 minutes, or until warm and crispy. Enjoy this delicious breadsticks recipe anytime!
Breadsticks Recipe Variations
Customize your breadsticks with these delicious twists to suit your taste and preference.
- Herb-Infused: Add fresh chopped rosemary or thyme into the dough for an aromatic flavor boost. The blend of garlic and herbs creates a heavenly scent as they bake!
- Cheesy Delight: Swap Parmesan with mozzarella or cheddar cheese for a gooey, cheesy interior. You can also sprinkle extra cheese on top for a delightful crust!
- Spicy Kick: Mix in red pepper flakes with the dough or sprinkle on top before baking for a zesty, fiery addition. This is perfect if you enjoy a little heat in your baking!
- Garlic Lovers’ Dream: Fold in minced fresh garlic into the dough for an even more intense garlic flavor. For those who can’t get enough, consider using garlic butter for drizzling!
- Olive Oil Swap: Replace melted butter with olive oil for a lighter take that still provides rich flavor. This option also works great if you’re looking for a dairy-free version!
- Smoky Flavor: Add a teaspoon of smoked paprika to the dough for a subtle smokiness that pairs beautifully with the garlic. You’ll taste the difference in every bite!
- Sweet Twist: For a sweet version, mix in a tablespoon of honey or sugar for a dough that pairs well with butter and jam, making it a delightful breakfast option.
- Gluten-Free: Substitute all-purpose flour with a gluten-free blend to accommodate those with gluten sensitivities. Just be sure the mix includes xanthan gum for proper structure!
Quick & Easy Garlic Sheet Pan Breadsticks Recipe FAQs
How do I select the best ingredients for this breadsticks recipe?
Absolutely! For the warm water, ensure it falls between 105°-115°F when activating the yeast—this helps the dough rise perfectly. For flour, all-purpose is versatile, but using bread flour will give you a chewier texture. Lastly, when choosing cheese, opt for finely grated Parmesan for the best melt, or consider Asiago for a unique twist.
What’s the best way to store leftover breadsticks?
I recommend placing any leftovers in an airtight container at room temperature, where they’ll stay fresh for up to 3 days. If you prefer to keep them longer, refrigerate them for up to a week, although they may lose some softness. You can also wrap them tightly and freeze for up to 3 months!
Can I freeze these breadsticks, and if so, how?
Yes, you can easily freeze these scrumptious breadsticks! First, allow them to cool completely after baking. Then, wrap each breadstick in plastic wrap or aluminum foil and place them in a freezer-safe bag. When you’re ready to enjoy them, just pop them in a preheated oven at 350°F for 10-15 minutes straight from the freezer until they’re warm and crispy.
What should I do if my dough doesn’t rise properly?
Very! If your dough isn’t rising, it might be due to the water temperature being too hot or too cold, which can kill the yeast. Make sure to activate the yeast in warm water (105°-115°F) and give it time to froth for 5-10 minutes. If your yeast was expired, that could also be the culprit, so always check the label before baking! If you encounter any issues, just be patient; the proofing time is key to fluffiness.
Mouthwatering Garlic Breadsticks Recipe That You'll Love
Equipment
- Mixing bowl
- stand mixer
- Sheet Pan
- Parchment Paper
- Pizza Cutter
Ingredients
For the Dough
- 1.5 cups Warm Water Temperature should be 105°-115°F for best results.
- 2 tbsp Granulated Sugar Feeds the yeast.
- 1 tsp Salt Enhances flavor.
- 1 tbsp Yeast Use active dry yeast.
- 3.75 cups All-Purpose Flour Can substitute with bread flour.
- 0.33 cups Melted Butter Divide for dough and pan greasing.
For the Topping
- 0.5 cups Parmesan Cheese Finely grated, can substitute with Asiago or omit.
- 1 tsp Garlic Salt Can use fresh garlic as an alternative.
- 1.5 tsp Italian Seasoning
Instructions
Preparation
- In a mixing bowl, combine the warm water, yeast, sugar, and salt. Let it sit for about 5-10 minutes until it becomes bubbly and frothy.
- Gradually mix in the all-purpose flour using a stand mixer. Knead until you form a loose, cohesive ball of dough. Cover the bowl with a cloth and allow to proof for 30-45 minutes until it's doubled in size.
- Preheat your oven to 350°F. Prepare a sheet pan by lining it with parchment paper.
- Place the risen dough in the center of the prepared pan and gently press it outward to cover the bottom evenly. Drizzle the remaining melted butter over the top, then sprinkle with Parmesan cheese, garlic salt, and Italian seasoning.
- Allow the dough to sit covered for an additional 15-20 minutes until it rises about an inch.
- Using a pizza cutter, slice the dough into your desired sizes. Bake for 18-20 minutes until they turn lightly golden and fragrant. Cool briefly before serving.
Notes


Leave a Comment